Precise, well-prepared technical drawings are necessary when working with sheet metal fabricators. Good drawings reduce errors, prevent miscommunication, shorten lead times, and avoid costly rework, while unclear drawings cause delays, wrong tolerances, and unexpected costs. This article explains how to create vendor-ready drawings that ensure smooth collaboration and accurate manufacturing.
Why Technical Drawings Matter in Sheet Metal Fabrication
Sheet metal fabrication involves multiple processes—cutting, bending, punching, welding, forming, surface finishing, and assembly. Each step requires precise dimensional and material information. Vendors rely heavily on your technical drawings to:
- Understand the geometry and flat-pattern layout
- Determine bend allowances and K-factors
- Calculate tolerances and clearances
- Estimate material usage and cost
- Assess manufacturability
- Plan tooling and production workflow
Good drawings reduce the guesswork. Without clarity, even skilled fabricators may interpret details differently, resulting in defects or inconsistent parts.

Choose the Correct Drawing Format
Before preparing the drawing, be sure to provide the required documents in the formats vendors expect.
Standard Formats
Most sheet metal shops accept:
- DWG / DXF (for laser cutting, punching, waterjet cutting)
- STEP / STP / IGES (for 3D models and assemblies)
- PDF (for readable 2D technical prints with dimensions)
Why Formats Matter
- DXF files define flat patterns for cutting
- STEP files help vendors visualize the full geometry and detect interference
- PDF prints provide official dimensions, tolerances, and notes
Always confirm your vendor’s preferred formats to avoid delays in quoting or production.
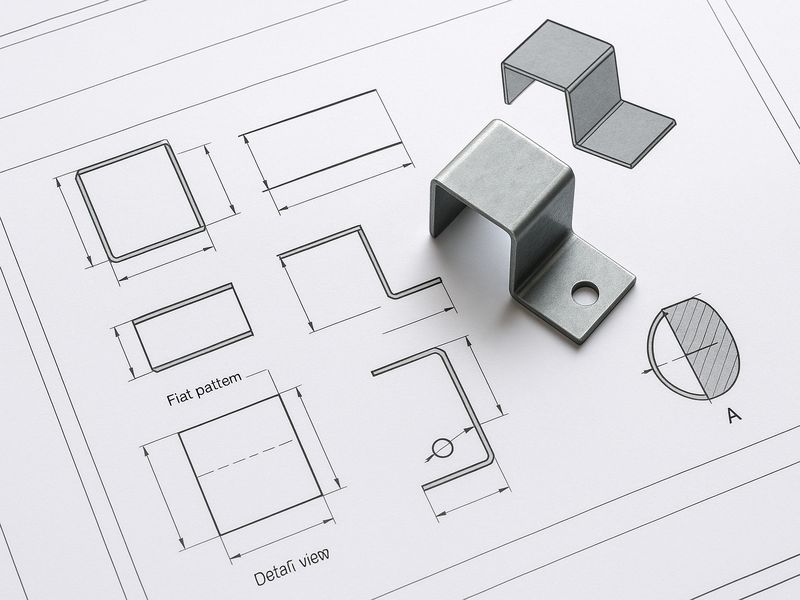
Use Standard Views and Layouts
A professional technical drawing should include the correct orthographic views and layout structure so that fabricators can interpret the component easily.
Minimum Required Views
- Front View
- Top View
- Side View
- Isometric View (helps visualize complex shapes)
Additional Views
For parts with complex bends or hidden features, also include:
- Section views
- Detail views
- Exploded views (for assemblies)
Keep the Drawing Clean and Organized
Avoid overlapping dimensions and unclear lines. Use consistent line weights for:
- Visible edges
- Hidden lines
- Centerlines
- Cutting plane lines
A clean drawing improves communication and reduces misinterpretation.
Define Material Specifications Clearly
Material selection affects strength, bendability, corrosion resistance, weight, and cost. Vendors need specific material information to process and quote the part correctly.
Include the Following:
- Material type (e.g., SPCC, 304 stainless steel, 6061 aluminum)
- Material thickness (e.g., 1.0 mm, 2.5 mm)
- Surface finish (e.g., brushed, anodized, powder-coated, galvanized)
- Temper or hardness (for aluminum or specialty metals)
- Industry standard (ASTM, JIS, DIN, EN, GB)
Why Thickness Is Important
Sheet metal thickness directly affects:
- Bend radius
- K-factor
- Flat pattern size
- Material cost
Stating the exact thickness avoids incorrect flat-pattern calculations and tool selection.
Include the Flat Pattern (If Required)
If your design includes bends, many vendors prefer receiving a flat-pattern drawing in DXF format. This helps them:
- Optimize cutting layouts
- Reduce scrap
- Calculate the correct blank size
- Prepare for CNC punching or laser cutting
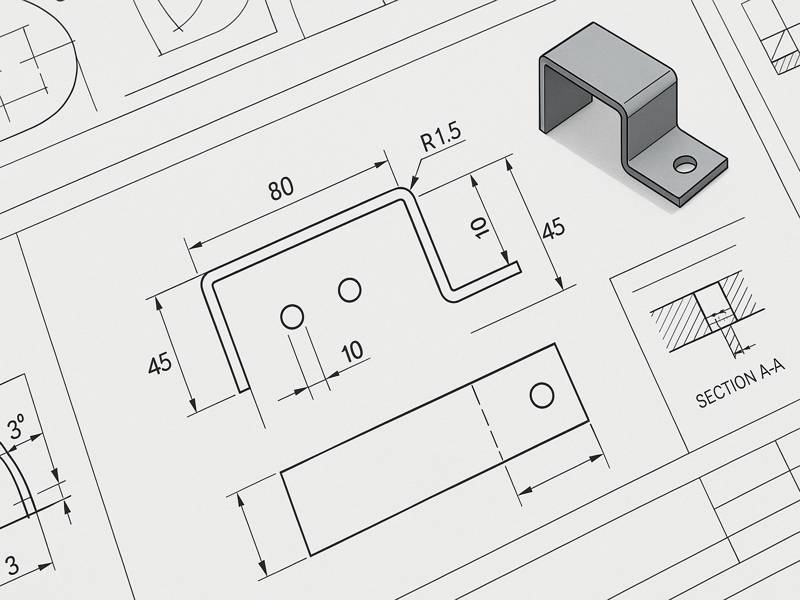
What to Include in a Flat Pattern
- Exact bend lines
- Bend direction (up or down)
- Bend notes
- Unfolded dimension references
If you don’t provide a flat pattern, your vendor will generate one—but this sometimes leads to variations depending on their software and tooling.
Specify Bends Clearly
Bending is one of the most critical operations in sheet metal fabrication. Incorrect bend specifications can ruin an entire batch of parts.
Always Indicate:
- Bend radius
- Bend angle
- Bend direction
- Bend ID or sequence (if required)
- K-factor or bend allowance (optional unless critical)
Use Bend Tables
If your design includes multiple bends, consider adding a bend table:
| Bend ID | Angle | Radius | Direction | Notes |
| B1 | 90° | R1.5 | Up | Standard air bend |
| B2 | 45° | R1.0 | Down | Tight clearance |
Avoid Over-Specification
Over-defining bend parameters may restrict the vendor’s flexibility. Provide essential information only.

Apply Correct Dimensions and Tolerances
Dimensions tell the vendor what size the part must be. Tolerances tell them how much variation is acceptable.
General Dimensioning Rules
- Use consistent units (mm or inches)
- Dimension to functional features (holes, slots, mating surfaces)
- Avoid redundant or conflicting dimensions
- Use GD&T when necessary (flatness, perpendicularity, position)
Set Reasonable Tolerances
Tighter tolerances increase:
- Production time
- Reject rate
- Fabrication cost
Typical sheet metal tolerances:
- ±0.1–0.2 mm for laser cutting
- ±0.3–0.5 mm for bending
- ±0.2–0.3 mm for punched features
Define Hole, Slot, and Feature Details
Common sheet metal features require additional notes.
Hole Types
- Standard hole
- Countersunk hole
- Tapped hole
- Embossed/formed hole
- PEM insert hole
Provide Necessary Information
For each hole or slot:
- Diameter or width
- Depth (for countersinks)
- Angle (for countersinks)
- Location from reference edges
- Type of fastener (if applicable)
Tapping and Inserts
If your part requires threads or PEM inserts:
Specify:
- Thread size (e.g., M4 × 0.7)
- Insert type (e.g., PEM M3 self-clinching nut)
- Press-in direction
- Any torque requirements
Lack of clarity here is a common cause of production errors.
Add Welding and Assembly Notes
If your sheet metal design involves welded joints or assembled components, include detailed instructions.
Welding Notes Should Cover:
- Weld type (TIG, MIG, spot weld)
- Weld size
- Weld length
- Weld location
- Intermittent vs continuous welds
- Post-weld grinding or finishing requirements
- Use standard welding symbols where possible.
Assembly Drawings
Provide:
- Exploded view
- BOM (Bill of Materials)
- Item numbers
- Fastener types
- Orientation details
Incomplete assembly instructions often lead to misaligned installations or incorrect welding positions.
Include Critical-to-Quality (CTQ) Features
Some features affect the performance or assembly of the final product. Marking these prevents misinterpretation.
Examples of CTQ features:
- Mounting hole positions
- Mating surfaces
- Structural edges
- Sealing surfaces
- Holes align with other assemblies
Mark CTQ features:
- Bold outlines
- GD&T callouts
- Special notes
Additional Surface Finish and Coating Needs
Surface finishing affects long-term durability, attractiveness, and corrosion resistance.
Common Sheet Metal Finishes
- Powder coating
- Anodizing (for aluminum)
- Zinc plating
- Sandblasting
- Brushed finish
- Electropolishing
Specify:
- Color (e.g., RAL 9005)
- Gloss level
- Thickness (e.g., 60–80 μm for powder coat)
- Pre-treatment (degreasing, phosphating)
- Masking requirements (for surfaces that must remain bare)
Incomplete finishing notes can cause rework or rejection.
Provide Tolerance Guidelines for Bending and Manufacturing Feasibility
Vendors will often check your design for manufacturability. If the part violates physical limitations, they will request changes.
General Guidelines
- Minimum bend radius: typically ≥ 1x material thickness
- Minimum flange length: ≥ 2x material thickness
- Minimum hole-to-bend distance: ≥ 2x material thickness
- Avoid extremely tight bends in stainless steel
- Avoid designing holes on bend lines unless required and noted
Ask Your Vendor for a DFM Review
Many fabricators offer:
- Bend feasibility checks
- Tooling requirement evaluation
- Flat-pattern optimization
- Suggestions to reduce cost and manufacturing time
Use a Title Block and Revision Table
A professional drawing must include a standardized title block.
Title Block Should Contain:
- Part name
- Part number
- Material specifications
- Scale
- Drawing number
- Revision number
- Drafter name
- Date
- Units
Revision Table
This helps vendors track design changes and avoid producing outdated versions.
Share a Complete Documentation Package
To make your vendor’s job easier, prepare a full documentation set:
Recommended Package
- 2D technical drawing (PDF)
- DXF file for cutting
- STEP file for 3D reference
- Flat pattern drawing
- Assembly drawing (if applicable)
- BOM list
- Finishing specifications
- Tolerance table
- Any custom instructions
A complete package accelerates quoting, production planning, and fabrication.
Clear, accurate technical drawings are essential for high-quality sheet metal fabrication. Detailed information—dimensions, tolerances, materials, bend instructions, and finishes—helps ensure parts meet performance needs. Complete, well-organized documentation improves communication, reduces errors, shortens lead times, and strengthens collaboration, making the entire process smoother from quotation to mass production.

